Instructions for installing and creating skins in Minecraft
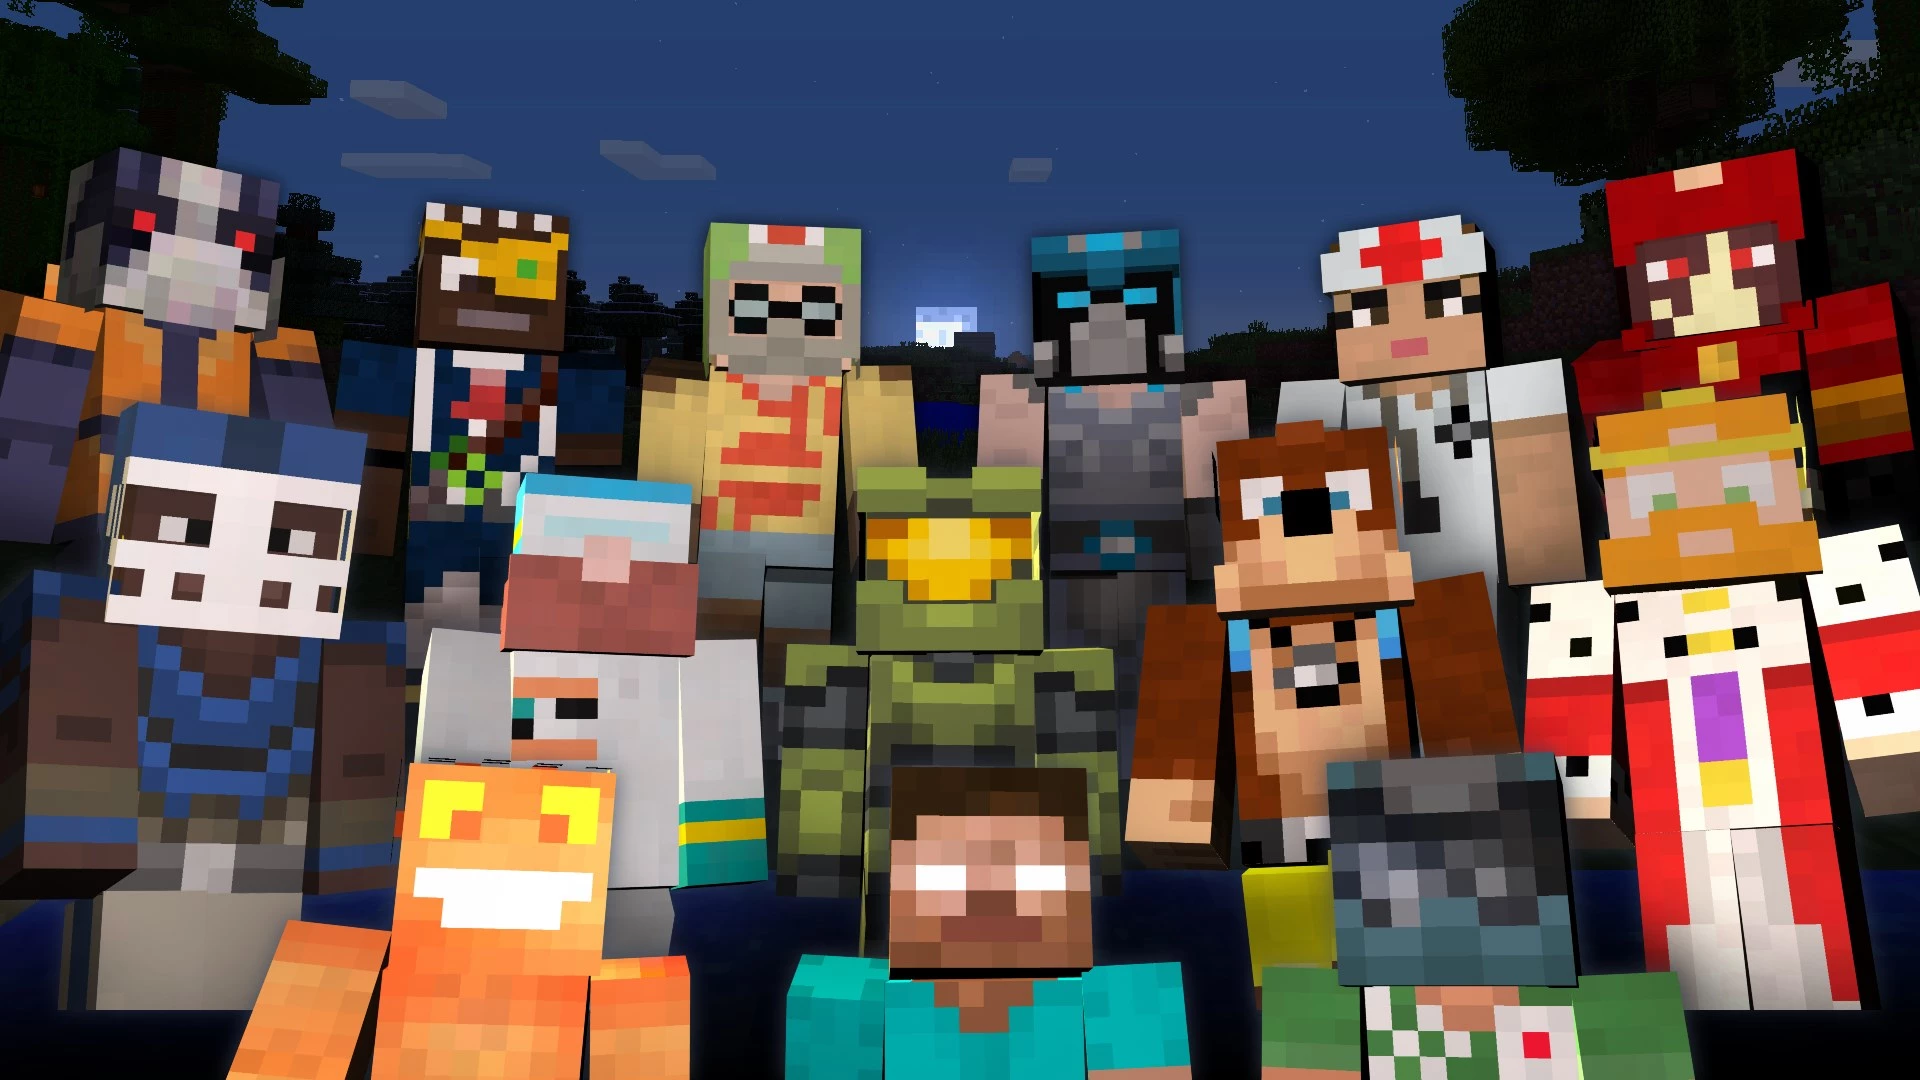
The popular sandbox video game developed by Mojang in 2011 still has a large fan base. Its popularity is not going down, especially now that it is owned by Microsoft. One of the game’s features is skins, which change the appearance of the character and allow you to make it unique. Instructions on how to install skins will help you choose a ready-made image or create your own.
Signing in to your Minecraft account
Previously, Minecraft users had to modify the game files to use skins. Now you can upload them directly to your account. They are automatically applied to the character when the player logs in. This is the same account used to log in to the Minecraft client. Authorization must be done using an account created on Minecraft.net.
After logging in, the user will automatically be taken to the profile. The page has information about the account, including email address and date of birth. If this page does not open immediately, you must select your email address in the upper right corner of the screen, and then click on “Profile” in the drop-down menu.
Installing a Character
On the left side of the profile, you need to click on the Skin button. A classic block model and a newer thin avatar are offered. You can choose either one, but it’s better to use the classic version, because there are more skins created for it and they fit better on the avatar. There is also a button “Upload Custom Skin”, which allows you to upload to the server any picture that corresponds to the required size and other parameters.
Ready-made skin can be found on the Internet, for example – in Minecraftskins, Minecraft Skindex or NameMC. There are many pictures created by fans and enthusiasts. The choice is great. You can use a character design that resonates thematically with other games – Dota 2, NAVI, etc. After downloading the skin will appear on the screen and you need to click “Upload” – the page will refresh, and the picture will be applied to the avatar. It will be used every time you log in to your profile. When you upload new images, the old ones are deleted – it is advisable to keep them on your PC, so that you can use them again in the future.
How to draw your own skin
To create your own image, it is better to use online drawing tools, of which there are many on the network. For example, the aforementioned services – Minecraftskins, Minecraft Skindex and NameMC. Avatar is easy to create in 3D-format, although you can meet and 2D-editors. It’s easy to design your character – you use graphic tools (eraser, pencil, brush, eyedropper, color palette, etc.).
You can be proud of your avatar’s uniqueness. If you get bored with your avatar, you can always change it.




 1391
1391